
GitHub 블로그 생성기 (Mac 기준)
1. GitHub Repository 생성 및 clone

Repository를 생성할 때 <이름>.github.io로 생성합니다. 이름이 다르면 안됩니다. 생성됐으면 clone까지 미리해둡니다.
2. (선택) brew 설치
/bin/bash -c "$(curl -fsSL https://raw.githubusercontent.com/Homebrew/install/HEAD/install.sh)"
3. (선택) Ruby 설치
brew update
brew install rbenv ruby-build
rbenv versions  # system만 뜨면 정상

rbenv install -l
rbenv install 3.2.0  # 여기서 10분 정도 걸림
rbenv global 3.2.0

vim ~/.zshrc
[[ -d ~/.rbenv  ]] && \
  export PATH=${HOME}/.rbenv/bin:${PATH} && \
  eval "$(rbenv init -)"

source ~/.zshrc
4. jekyll 설치 및 셋업
$ gem install bundler jekyll
$ jekyll new . —force
$ bundle install
# 설치 확인
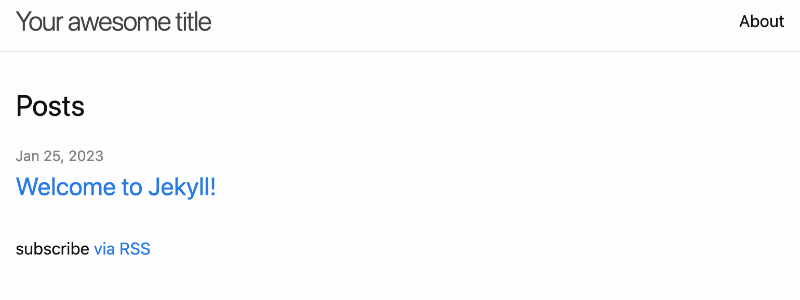
$ bundle exec jekyll serve
# 127.0.0.1:4000 접속
5. push 및 확인
git add .
git commit -m “add jekyll”
git push origin main
<이름>.github.io에 접속해서 확인
댓글남기기